The initial photo I have of this bicycle is not great - it was taken on an iPhone, and I regret not taking more pictures of the bicycle in its "as found" state. I did, however, take some photos of the stripped frame before I sent it off to be powdercoated.
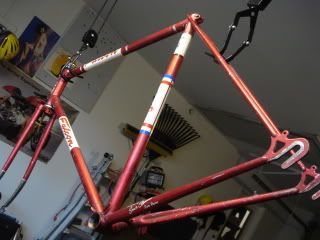
In this photo you can see the oxidation from the cable clips on the top tube. You can also see the general poor condition of the paint.
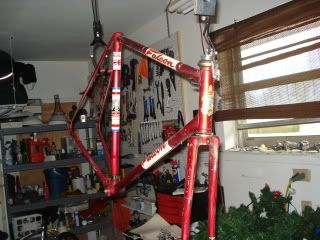
Here you can see the poor condition of the fork, and if you look on the rear stay you can see where the paint (probably) went on thin and wore off over the years.
I took some more time to start really assembling the bicycle over the weekend. I went ahead and got all new cable housing, as the original shifter housing was too short, and I didn't have enough brake housing from the donor bike - the Fuji had cable guides brazed on the top tube, so it had much less housing.
I spent a lot of time over the last week polishing up the last of the shiny bits - all cable hangers, cable clips, and the seatpost especially. The Falcon originally came with an old style seat post, really just a pipe with a clamp attached. I happened to have an alloy fluted seat post to put on, but it needed some serious polish. In addition to polishing all of the old pieces, I took the time to clean off everything that was going on the bicycle. I can promise you that the derailleurs I put on this bike haven't been this clean since they came out of the box.
I bolted on everything that needed bolting, and then I started to string cables. I'm using the original centerpull brakes on the bike for now, and after a little tuning they seem to do the job just fine. I do want some modern brakes but I don't want to alter the frame any more than I have by drilling for recessed nut modern brakes, so I need to save my pennies for a nutted pair.
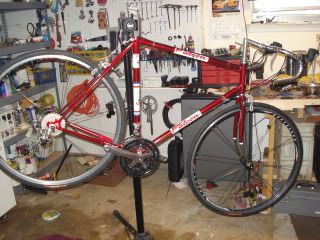
Here is the bike in the stand being built. No seat yet and no chain.
After brakes came the derailleurs, and I'll admit I haven't changed out the cables. I have new cables for both front and rear, but I didn't have them handy when I was putting things together. The rear derailleur shifts and works great, but the front needs a little more tuning to make it work correctly. The cable for the front is certainly too short, so tuning it is not working out that well. I'm going to replace that cable and finish up this weekend, but for now the bike is rideable at least - so that's what I did. I put on some pedals and went for a spin. The headset needed a couple of adjustments, but other than that everything was as smooth as butter.
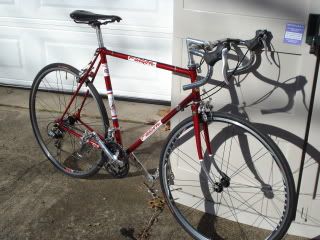
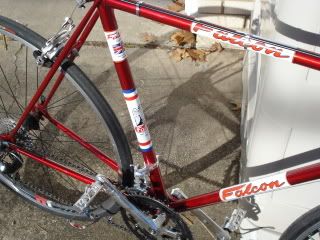
Here is the bike after the initial test ride. I haven't taped that bars yet, because I am still fine tuning the fit. Other than that and the front cable, this bike is ready to ride. There will be a little more garage tuning and fitting on the trainer, and then at least a ten mile ride to make sure the fit is really dialed in befroe I tape up the bars and call the project complete.
I enjoyed documenting the progress on this project very much. My next project will be turning the Fuji frame into a singlespeed bike for my brother to ride to the gym. I'll probably document that here as well, so stay tuned.
No comments:
Post a Comment