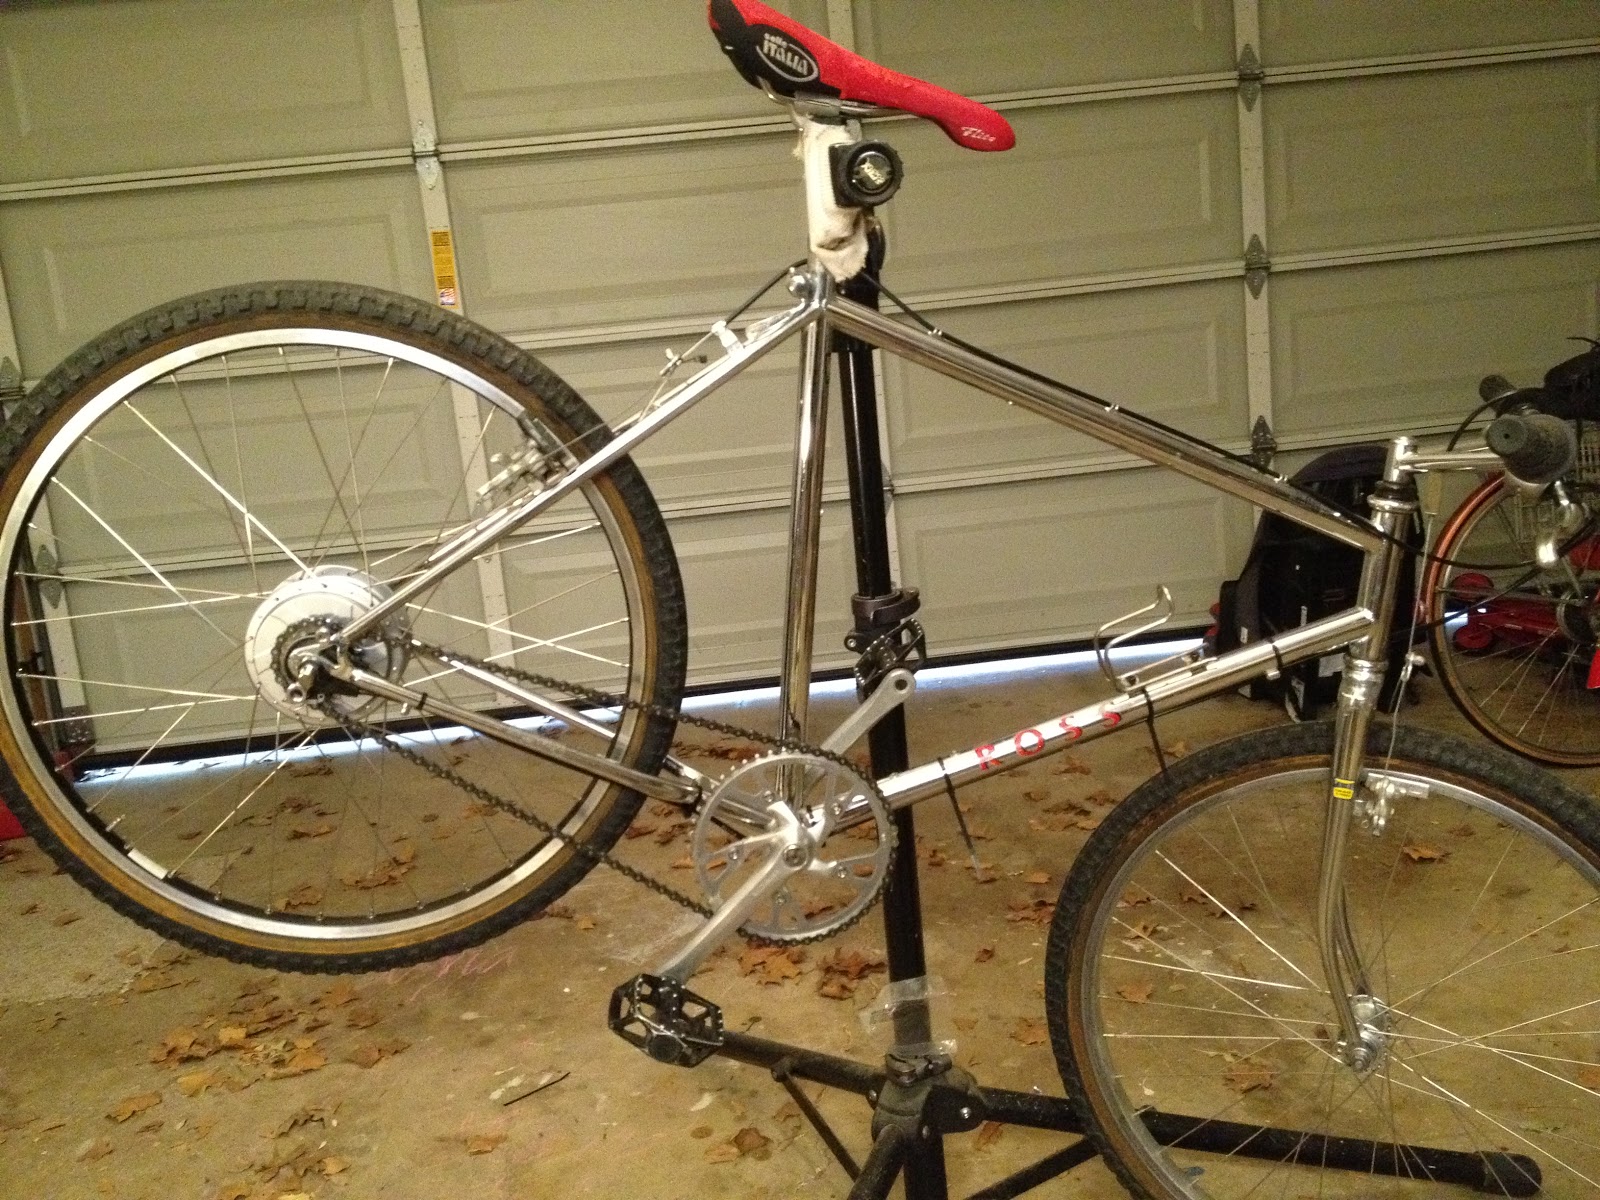
Now, the last thing I want to see is that I have a low battery, because it means no tunes and no tracking for the rest of the ride. (It also means that Mrs. The Plano Cyclist can't call me and ask when I will be home, so it's a bit of a mixed bag.) When I saw the notification, I mentally kicked myself, because I had a dynamo system sitting on my workbench, waiting to be installed on the bloggipede.
Even though it was waiting patiently, it took another incident to get me to install the Bikecharge. I had received a notice about a recall on my Light and Motion 180 for a circuit board problem; the light I had was in a batch that had problems with the light turning off unexpectedly. "Pshaw", I said, "this is a great light, and I don't think it will be a problem." And it wasn't - until one night at about 6:45. Once you are used to having plenty of light, it is hard to adjust to having none. I usually carry a blinky in my bag, but on the night the lights went out in Plano I didn't have it with me, of course. It was a dark ride home, and the whole time I was thinking about that Bikecharge dynamo, just sitting on the PC workbench.
Having been given two reasons to install the Bikecharge, I went ahead and did it. I had been avoiding installing the unit because I read the instructions, and I had to replace one of the hub nuts with an included narrower nut. That may sound funny from a guy who has no problem stretching a frame, but hubs are my one stopper. Despite having plenty of tools and abilities, I hate dealing with them. It is a weird hang up I have, and one that I suspect is actually slowing down the tandem rebuild.

Despite having to deal with my irrational hub mental block, the install was a snap - remove the wheel, replace the outer nut with the thinner nut (simple) and then put your wheel back on. I use a nutted front hub on the bloggipede, so once it was tightened, I did some adjusting and got everything pointed the right way. Install took all of ten minutes, and I wish I had scheduled the staff photographer that day, because it was impossible for me to do it and take photos at the same time.
 |
| Remote on/off switch |
Once the unit was installed, I connected the remote "on" switch and strung it up to the handlebars. This part took longer than the actual generator installation, to be honest.
 |
| USB Plug |
After that, I installed the USB cable, strung it up, and was done. The Bikecharge comes with little clips to facilitate the stringing of the wires, and I have no worries that the wires are going anywhere.
After the installation, it was time to test this baby out. The wide silver part gathers up the generated energy via the little tab shown below. Here it is engaged.
And disengaged - there is a slider so that when you don't need juice/don't want the drag on your wheel, you can reverse the tab and disengage the generator. I'm sure some of your ears perked up when I said "drag", so I will address it directly.

 |
| Rear of unit, with taillight and usb and control wires. |
And does this thing generate power! I am impressed by the amount of light that it puts out. I have been spoiled by the Urban 180 light output; I would say that the Bikecharge puts out almost as much. It's certainly brighter than every other light I have tried, and a ton brighter than the bottle generator light. One of the nicer features of the Bikecharge is that it stores a small amount of energy, so that when you are stopped the light stays on. That way I don't suddenly disappear when I stop moving. The USB charge feature works very well, and I was able to recharge my half full iPhone on an hour ride, while still using the Bikebrain app and listening to Harry Nilsson.
The Bikecharge is $99, and a great investment for a commuter. Pair it with a phone mount on your handlebars, and you are all set to enjoy the day on two wheels from dawn until dusk.
***
All of the above was written when I originally installed the light in February - and I have ridden in extensively since then. Sadly, the tiny little screws in the engagement tab worked themselves out after a few rides, rendering the Bikecharge useless. I have contacted the company to see if they can send me replacement screws, so I can continue to test it. I'm sure they will, and I assume that my unit was an outlier. I will let you all know what kind of response I get from the company.